Created a new Droplet
Before creating a Droplet let's first understand what is Digital Ocean and Droplet. DigitalOcean is a cloud hosting provider that offers cloud computing services and Infrastructure as a Service (IaaS). Droplets in DigitalOcean are Linux based Virtual Machines running on top of some hardware and each droplet you create a new server you can use.
Follow this blog on how to create a Droplet (server) in DigitalOcean
Configured Firewall
- Configured Firewall rule to open port 22 for SSH access. Apply firewall on the droplet
Networking > Firewall > Add Droplets - Now, copy the IP-Address of Droplet and Connect it via SSH
ssh root@<ip-address>
Installed Docker on Droplet
- Install Docker on Droplet
snap install docker
Created docker volume for persistence nexus data
- For persistence of data we need to config the docker volume for nexus. Otherwise we will lost our Nexus data if container stop or crash by some reason
docker volume create --name nexus-data - You can check if volume is create and it will spit out the name of volume
docker volume ls | grep nexus-datalocal nexus-data
Run Nexus as Docker container with necessary parameters
docker run -d -p 8081:8081 --name nexus -v nexus-data:/nexus-data sonatype/nexus3
- -d : detached, it will run the container in the background
- -p 8081:8081 : it make this container accessible at port 8081 in your server (Droplet)
- --name : container name
- -v : volume (named volume here)
- sonatype/nexus3 : Docker image name
Accessed Nexus in browser
- Grab the IP Address of your Droplet and open your browser on that IP Address with port number 8081
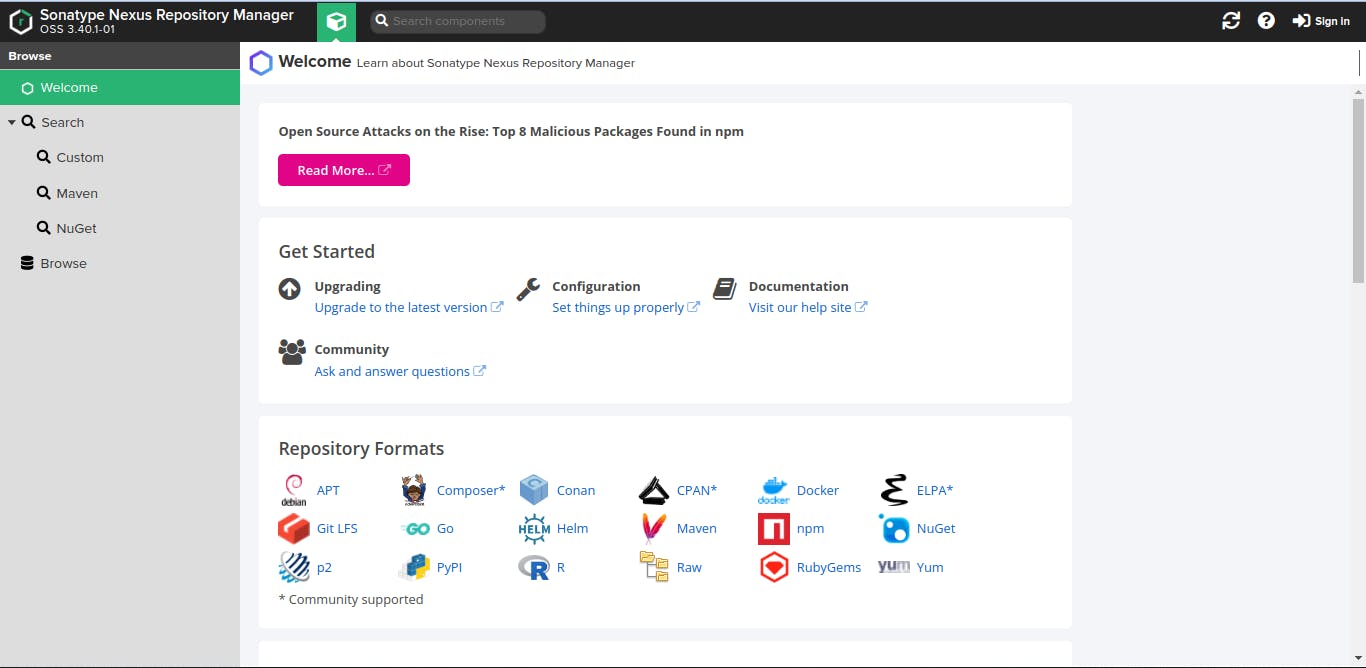
http://IPaddress:8081Change with your Droplet IP Address - If you see an interface like this on your browser then congratulation you have successfully deployed the nexus on your DigitalOcean droplet

